| |
| Home |
| Doors |
| Interiors |
| Accessories |
| Gallery |
| Get a quote |
| Contact us |
| Easy To Install | |
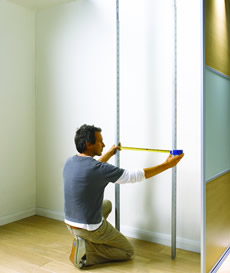 |
1. Begin by measuring you space. If you are having shelves and drawer boxes decide if you want 550mm or 9oomm width, Note: trouser rack and shoe rack fit a 900mm wide module. |
|
2. Lay out the components to ensure they fit your space. If fitting in an exact opening (eg wardrobe) it is recommended to have one module without shelves or drawer boxes. Fitting the telescopic hanger bar in this module will enable adjustment to fit. |
|
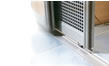
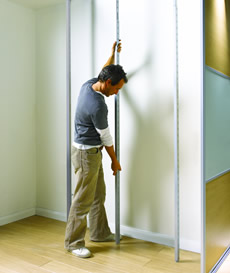
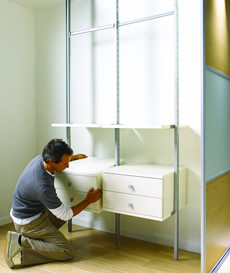
3. You are now ready to begin installing. Fit the telescopic post as shown. The telescopic post fits most ceiling heights up to 2700mm. if fitting a drawer box, shelf, trouser rack or shoe rack Place as shown up against the first telescopic post. |
|
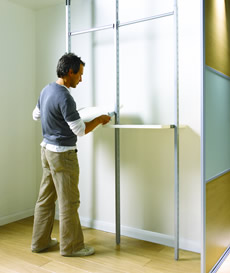
4. Fit shelf bracket (for shelf, shoe rack or trouser rail) or drawer box bracket if fitting a drawer box (as shown). Fit each additional telescopic post and build up system as required. |
| Once you have selected your style of doors, fitting them is easy: |
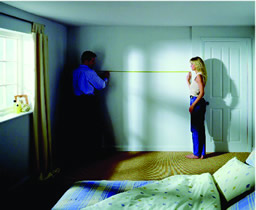 |
1.
Measure the opening width. Helpful Hint: Careful read the assembly instructions before starting installation. |
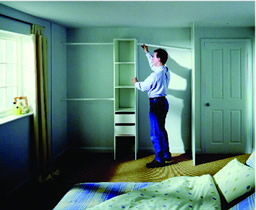 |
2.
Fit your interiors and build the opening for the dors and track. Helpful Hint: All doors are made to fit a standard opening height of 2260mm(89”) including the track. Higher ceilings can be reduced using spacer blocks or opening height reducers |
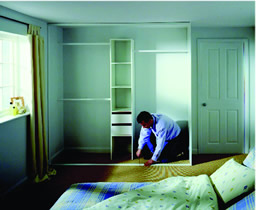 |
3.
Fit top and bottom track. Helpful Hint: Always fit top track first. Floor track should be level and fitted securely, if fitting on top of a ceramic floor then quality double sided tape can be very useful. |
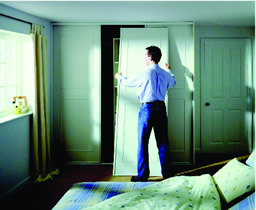 |
4.
Fit the doors. Helpful Hint: Always fit the back door first- position it inside the top track and then locate the bottom wheels. The door can then be adjusted by one screw located at the back of the wheel, this will enable all doors too look balanced. |